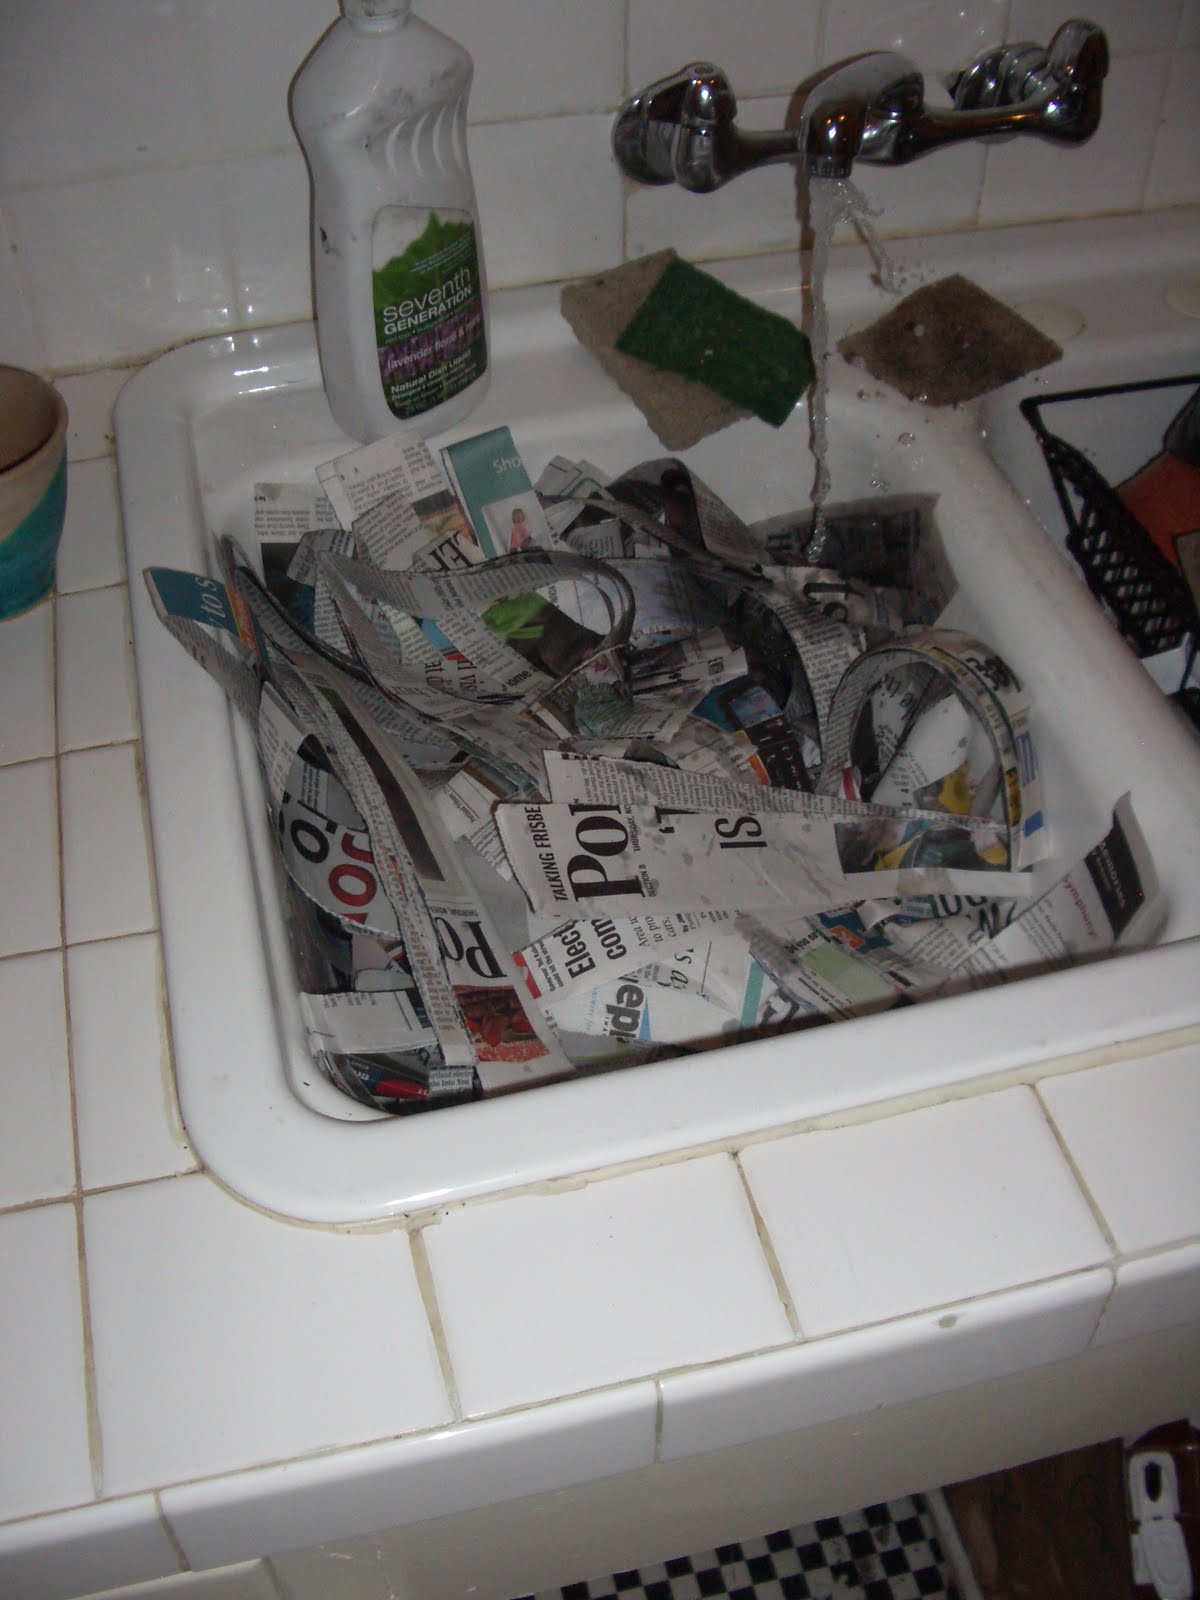
this simple statement gave me a lot of ideas
Saturday, November 28, 2009
Thursday, November 26, 2009
setting up a production line
Sunday, November 22, 2009
weekend in the shop
Thursday, November 19, 2009
same bin, new material
so i am pushing my idea of the worm bin to explore itself in actual materials now, instead of paper-based materials. So I made a mold to wrap the metal (aluminum so it doesn't rust) around. Unfortunately, the way i made it, if i were to wrap the metal around and glue two end pieces to it, it would be permanently located there.
some pics:

some pics:
worms!
I learned something new about worms this morning when i woke up. apparently they are very sensitive creatures, that after moving feel displaced in their new home, and in their longing for home, they try to run-away from their new worm bin to go home. They are very humanistic this way, and sometimes I feel like this, too. But, according to the old adage, " you can never go back home," i solved their itchy feet by leaving the light on them for a few days, now they seem to be settled.
Monday, November 16, 2009
i got worms
so after trying for a few weeks to buy red worms from a local nursery and being unsuccessful, i finally gave up and decided to order them online. I went to northwestredworms.com, based out of camas, washington, and less than 48 hours later a bucket of worms was hand-delivered to my door, because apparently doug was in the neighborhood.
so I put my little wigglers to work. i have to say that i was more grossed out by a bucket of squirmy little worms than i expected myself to be, so maybe i need to think about the initial packaging of the worms.


worms are not very photogenic
so I put my little wigglers to work. i have to say that i was more grossed out by a bucket of squirmy little worms than i expected myself to be, so maybe i need to think about the initial packaging of the worms.
worms are not very photogenic
Tuesday, November 10, 2009
construction
I added some transparency to the model to show off the insides--this is starting to speak of the construction method that I'm thinking of; with the red becoming cnc milled pieces and the transparent will be wrapped around the milled pieces. The bins arent showing in this rendering but will hang from the milled pieces. in each section (3 of them).
black lake worm bin
The photo that follows provides an example of what the worm bin would look like if it were in the middle of a rectangle of black water. Okay, I wont demur your comment that my rendering skills could be polished, but I have completed the worm bin (except for a few minor details). Now I have to get it out. Here's the photo:
Monday, November 9, 2009
Sunday, November 8, 2009
bin lid
here's a screenshot of what the bin lid is looking like right now. I'm trying to keep it very simple and clean, but it is coming out understated. There are currently two openings at the top, on of them for storage and changing the charcoal filter, and one for placing foodscraps and stuff. This is a early iteration, so if anyone has any great ideas on how to kick up this interaction with the bin, let me know.
Friday, November 6, 2009
Thursday, November 5, 2009
mdf run . . . (or bike)
Wednesday, November 4, 2009
inside the computer?
Monday, November 2, 2009
Tuesday, October 27, 2009
Saturday, October 24, 2009
Friday, October 23, 2009
designing for posterity
i really enjoy this very simple design element that has been in most of the apartments that i have lived in. The slot in the bathroom cabinet is designed for depositing razors after their usefulness is up. However, it only deposits them into the wall, somewhere. It makes you ponder exactly what our opinions are about our next generation.

while i'm on the topic of bathroom medicine cabinets, the doorcatch is an enjoyably simple, elegant solution.
Thursday, October 22, 2009
worm bin!
So, i believe this is my first post about the worm bin as project grow. In an ideal world, it would be in this post that i discussed my thought process and reasoning for choosing this as a design problem, as the act of choosing a design problem is a design problem in itself. However, i want to devote an entire later post to this discussion, and will exclude it from the current post, which is focusing on the first three dimensional iteration of the the worm bin. The scale of the bin is about 11 1/2 inches square, and 20 inches tall. I want to work with a worm bin the scalable, and the scalability of this bin will come from differently sized middle sections, while keeping the top and the bottom the same. That way, I can focus on the complexity of the "working ends" and avoid unnecessary material waste while exploring issues of pure volume. I calculated the volume to be 6.5 gallons not accounting for the round corners, and found online that the minimum recommended size for a worm bin would be about 3-5 gallons. To increase volume, the middle section (where the worm reside) can be increased.

Wednesday, October 21, 2009
another round won by the bottle
In an attempt to improve the functionality of the last edition, I moved from cable to metal rod. Though the possibilities with detailing the joints becomes more interesting, the aluminum did not stand up to the bottle test. Steel might work, and I want to try it next, but I really liked the idea of the product being made of 1 metal that is highly recyclable. Here are some pictures:


Subscribe to:
Posts (Atom)